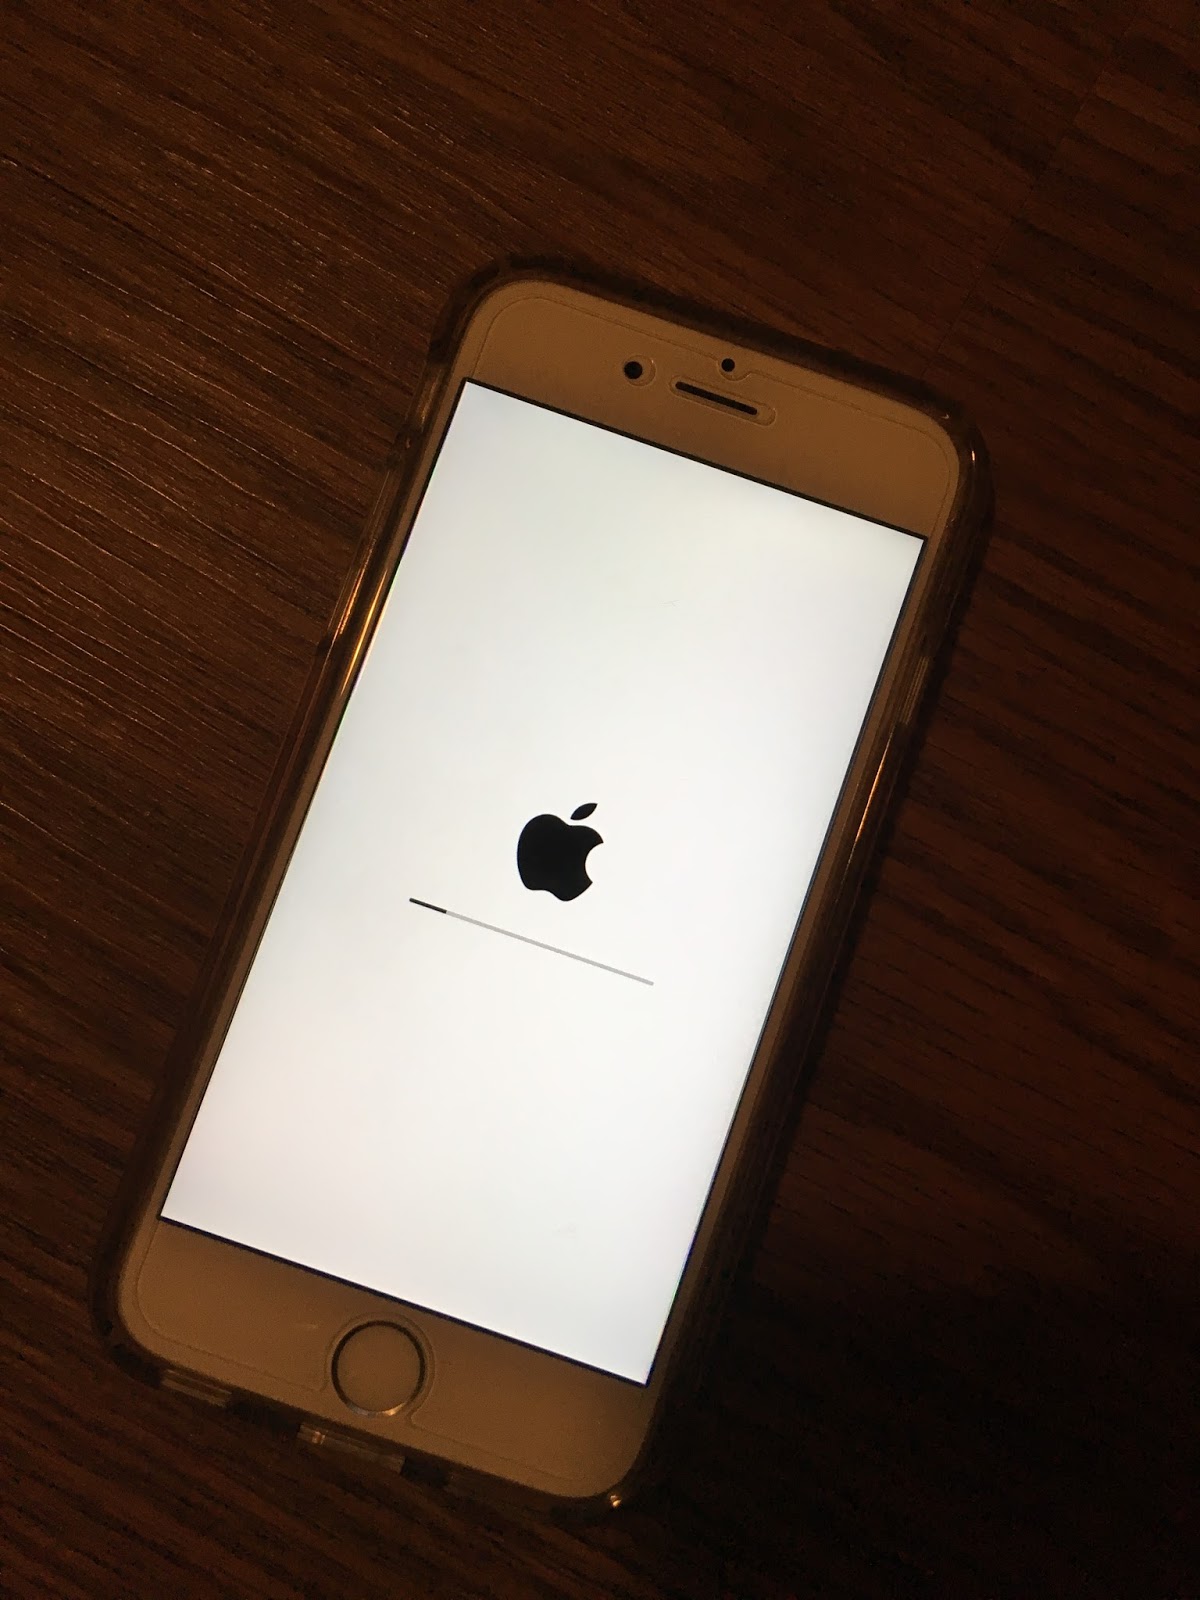
How to update iOS Software on iPhone?


When a new update has come to your device, you will see a notification on Settings app. Before proceeding with software update, make sure that your device has enough battery power or plugged into power and make sure that you are connected thru Wi-Fi.


You can learn current version of your iOS by tapping "Settings -> General -> About". Version line shows the current iOS version of your device. For example, current version of this device is 10.0.2


1- Tap on “Settings -> General -> Software Update”.


2- If you tap on "Learn More", you can learn more about current software update.


3- Tap "Install Now".


4- Enter your 4-digit passcode.


5- You will see a screen showing “Update Completed“. Then tap on “Continue“.


6- You will be asked to enter your Apple ID and password. Do so and tap on "Next".


7- On this version of iOS, Apple provides two-factor authentication by using either another Apple device you have or your phone number. If you want to use two-factor authentication, please tap on "Continue"

8- Tap on “Continue“.


9- Congratulations, You are all done with iOS software update.


10- By tapping "Settings -> General -> About", we will see that current version of the iOS is now “10.1.1“. To sum up, we updated the OS of the device from the version “10.0.2” to version “10.1.1”


For more details, please visit official website of Apple by clicking here.

Comments

Popular posts from this blog

Mobile App Review: Amnesty SOS

A. INTRODUCTION In this post, I will review Amnesty International's mobile app for you on both Android and iOS platforms. Amnesty International has already been doing its own part for years successfully to: Stop violation of human rights  Protect people and communities who are in immediate danger Now it is your turn to do your part and  Join this great community by taking actions for human rights Speak out for people facing with unlawful, inhumane treatment Encourage friends and family to raise their voices for human rights Collect more signatures and amplify your impact  Share on social media Figure : Amnesty SOS App on Google Play Store Figure : Amnesty SOS App on iOS App Store Android App details are as follows: Version : 1.1 Released on : Feb 20, 2018 Developer e-mail : digitalcomms@amnesty.ca iOS App details are as follows: Version : 1.1.1 Released on : April 2017 Developer e-mail : digitalcomms@amnesty.ca B. ...

How to Fill out a Cheque?

In this post, I will demonstrate how to fill out a cheque properly. You can have a cheque book either from your bank or any store. If you find these two suggestions expensive, you could also design and print out your own cheque. In Figure 1, a sample cheque is displayed and in Figure 2, some regions of the sample cheque are highlighted. Figure 1: Sample unfilled cheque. Figure 2: Some regions are highlighted in sample cheque. 1- Name and Address of Payer: Name and  address of the person who is the owner of this cheque and is filling out the cheque should be written in this region. 2- Date: For any official document, date is a mandatory field and hence you should write current date in this region. 3- Payee Name: Payee could be either a person or an organization (Store, Restaurant, Company, School etc.) You should write the name of the payee here explicitly. 4- Amount of Payment (Numeric): Exact amount of the payment should ...

Xcode vs Visual Studio - Mostly Used Feature Comparison

In this post, I will try demonstrate mostly used menus and functions of the most famous two Integrated Development Environments (IDE) of Microsoft and Apple... namely Visual Studio and Xcode respectively. Versions of the IDEs used in this post is Microsoft Visual Studio 2015 and Xcode 8.2.1. What you will find here is mostly used features like Auto Indent, Comment out, Uncomment, Debugging shortcuts, Attaching to a process etc. in a comparative manner. In other words, these features are demonstrated by using both Xcode and Visual Studio one by one. If you have already been using one of these IDEs, you will switch and adapt to the other IDE easily thanks to this article. 1- Auto Indent Xcode: Select the text Right click on the selected text Click on " Structure -> Re-Indent ". (Control + I) VS: Select the text Click on " Edit -> Advanced -> Format Selection " If you want to Auto-Indent all document (not only small por...